How Long Does A Record Player Stylus Last
April 12, 2023Best Speakers for Audio Technica Record Player: Top Picks for 2025
April 22, 2023Last Updated on January 24, 2025 by Tom S. Ray
How To Use Record Player
Vinyl records have made a remarkable comeback, offering music lovers a unique listening experience. In this digital age, the charm of these classic discs lies in their warm and authentic sound powered by the speakers.
Whether you’re new to the world of vinyl or an enthusiastic collector looking to master the art of playing records, our step-by-step guide is here to help.
Components Of A Record Player
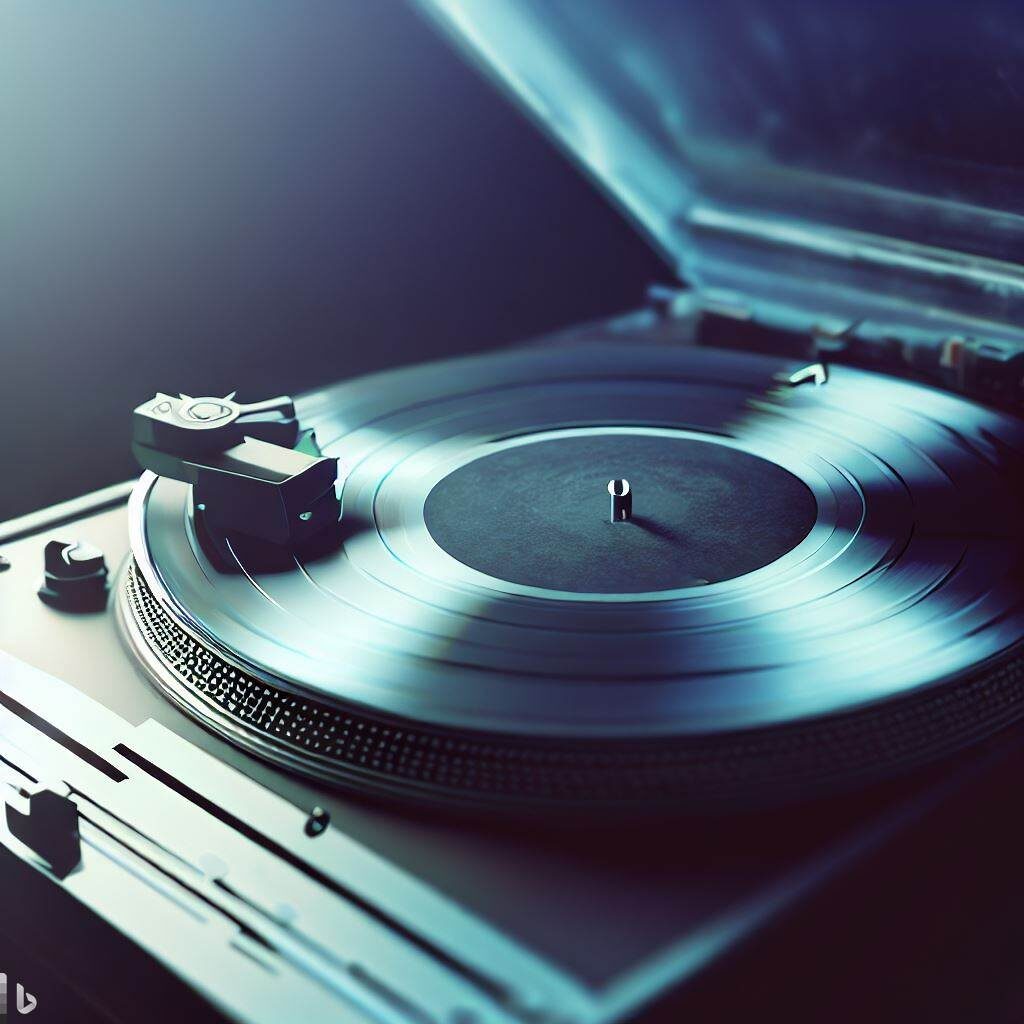
A record player consists of several essential components such as the turntable, tonearm, cartridge, platter, stylus, preamp and speakers.
Turntable
As a music lover, you know that the turntable is at the heart of every record player experience. Essentially, it’s a rotating platform designed to spin your vinyl records at a consistent speed to ensure accurate playback.
Modern turntables are either belt-driven or direct-driven; the former utilises an elastic belt attached to the motor and platter, which provides reduced vibration and noise for better sound quality.
Let me share an example of how critical this component is in a record player setup: imagine you’re all set for a relaxing evening with your favourite album spinning on your shiny new turntable.
You lower the stylus onto the groove-laden surface of your precious vinyl when suddenly – disaster strikes! The speed isn’t quite right, causing pitch inconsistencies that mar your listening experience.
This scenario highlights just how crucial it is for any serious audiophile to have a high-quality turntable capable of maintaining consistent speeds like 33 1/3 RPM (for most LPs) or 45 RPM (for singles).
Tonearm
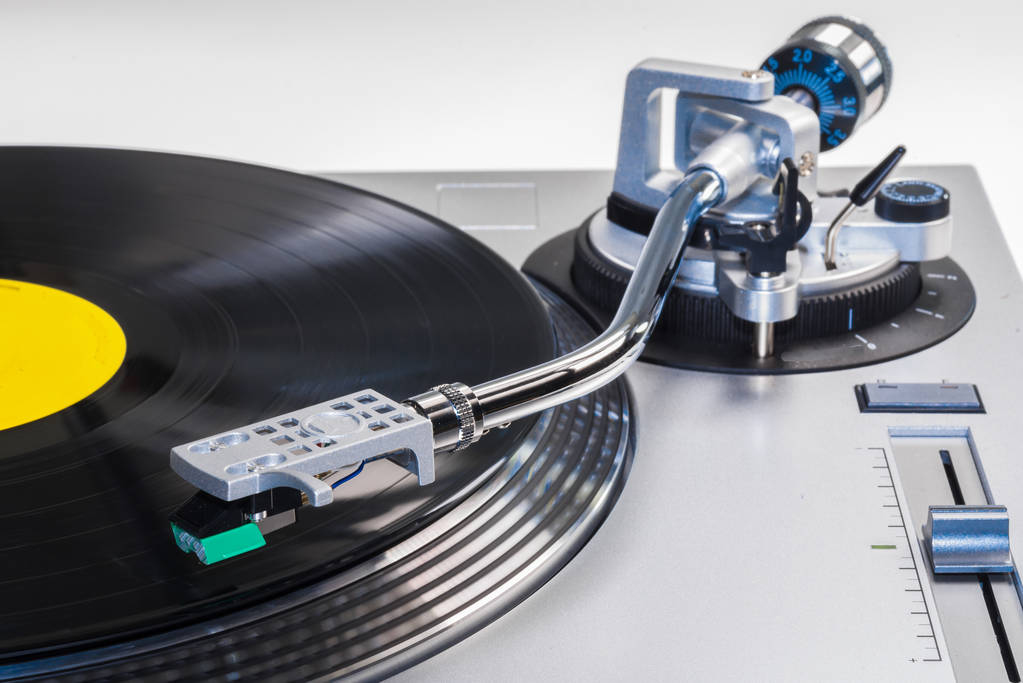
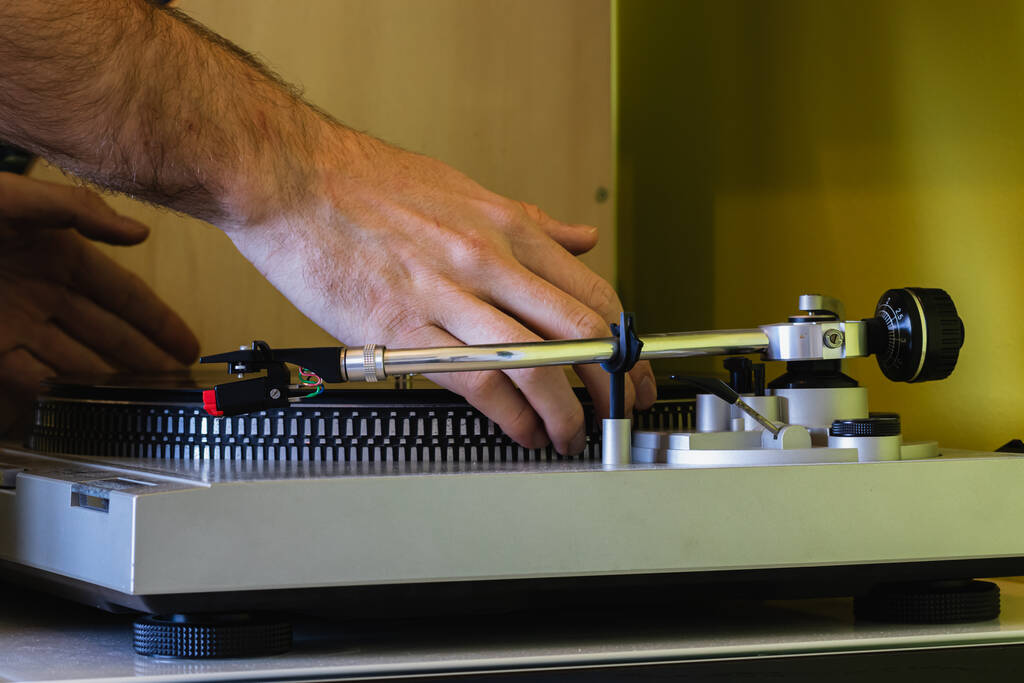
The tonearm is an essential component of a record player, playing a critical role in ensuring the best possible sound quality from your vinyl records. As a music lover, you’ll appreciate the precision and accuracy that the tonearm brings to your favourite tunes.
It’s essentially an elongated arm connecting the cartridge and stylus to the turntable’s base or plinth.
One crucial element in using a record player correctly is understanding how to adjust and balance the tonearm appropriately. This may seem intimidating at first, but it can be relatively simple once you become familiar with it.
Start by loosening any locking mechanisms or clamps on your specific model before adjusting its counterweight until the arm floats parallel to, but not touching, the platter surface.
Finally, secure it back in place while making sure not to exert excessive force on either side of this component – as this could cause damage or affect playback quality adversely! With just these small adjustments made thoughtfully over time–you’re well on track towards optimising both reliability & longevity amongst all components involved throughout operation (stylus included).
Cartridge
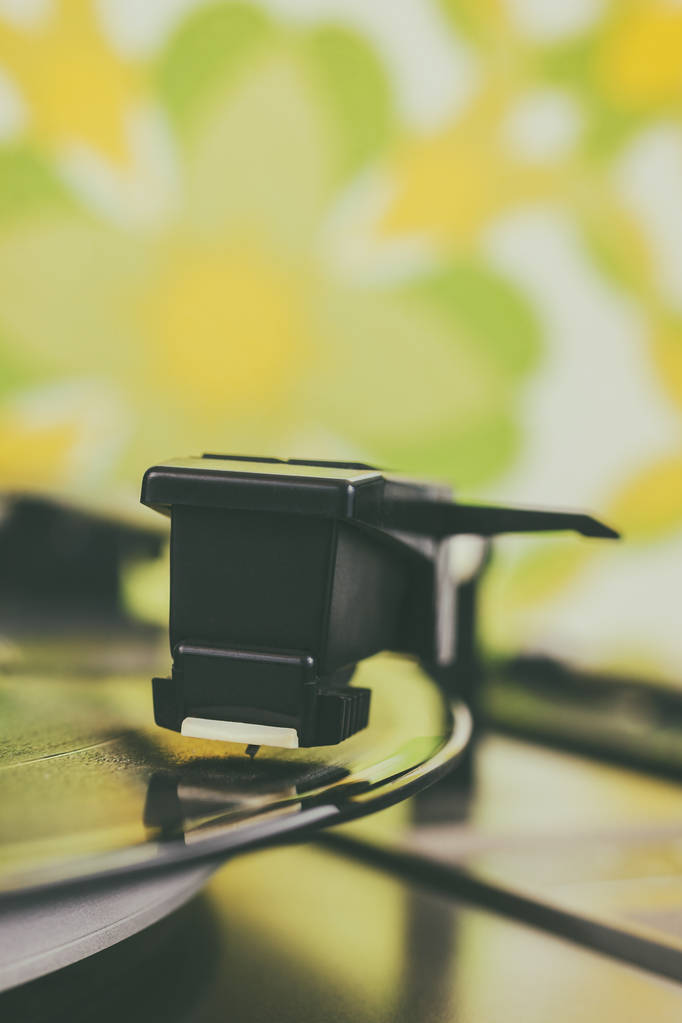
A critical component of any record player is the cartridge, which has a significant impact on the tonal quality of your vinyl listening experience. It’s a small electro-mechanical device typically mounted on the end of your turntable’s tonearm and houses the stylus – otherwise known as the needle.
In my journey as a music lover, I’ve come across many varieties of cartridges with different construction materials and design principles. There are mainly two types: moving magnet (MM) or moving coil (MC).
MM cartridges have been popular for decades due to their affordability and replaceable stylus, ideal for people taking their first plunge into vinyl records. On the other hand, MC cartridges provide audiophiles with exceptional sound quality but tend to be pricier and require specialised preamps or phono stages to work properly.
Platter
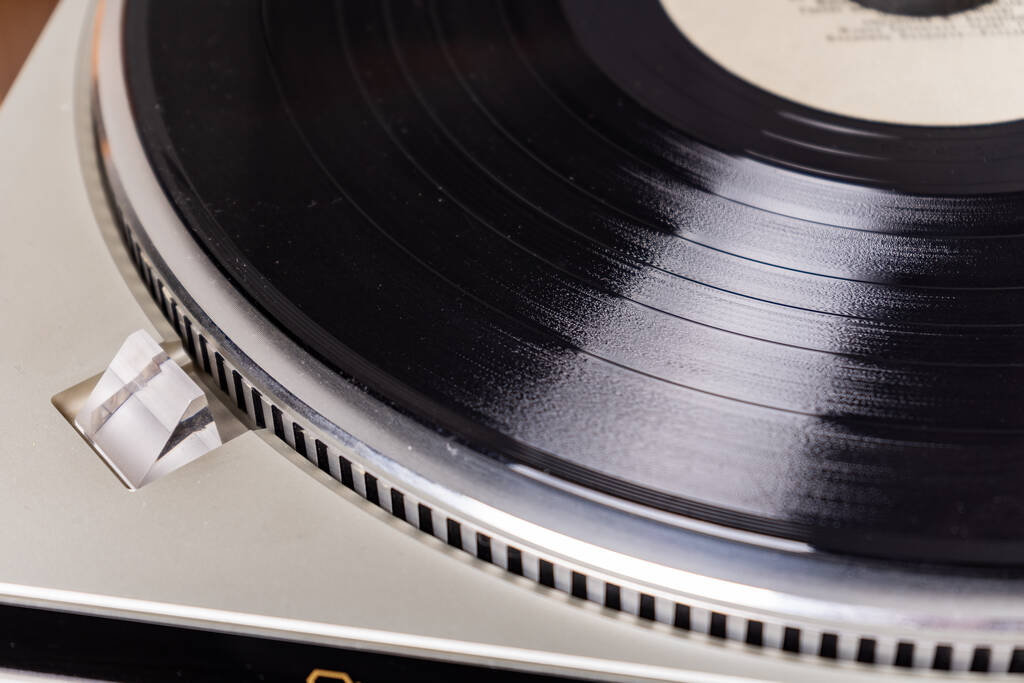
The platter is the circular rotating component of a record player on which the vinyl sits. It’s typically made from aluminum or acrylic and can come in different sizes depending on the turntable model.
One useful tip is to ensure that your platter is clean before placing your record on it. Dirt and dust can accumulate over time and create noise in the audio playback, so use a soft cloth to wipe it down regularly.
Some like to use a slipmat with their records. This is completely optional.
Stylus
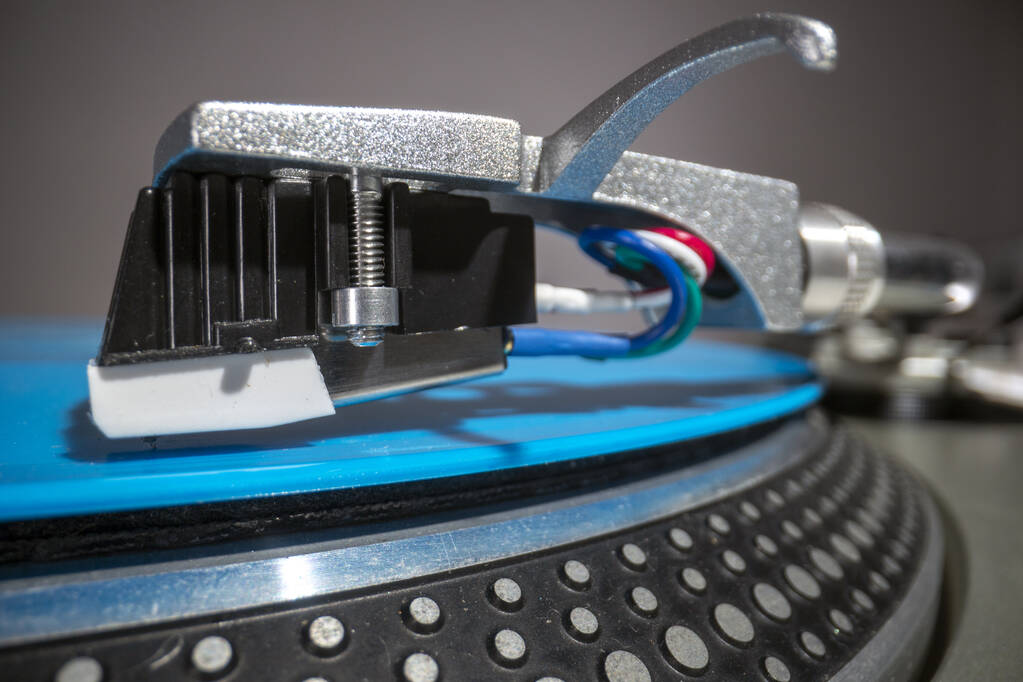
One of the most important components of a record player is the stylus, also known as a needle. It’s responsible for reading the grooves on your vinyl records and producing sound, making it a critical part of your setup.
There are different types of styli available, each with its own characteristics that affect how your record will sound. For example, conical-shaped styli are generally less expensive but can cause more wear and tear on your records compared to elliptical or microline-shaped ones.
In addition to choosing the correct type of stylus, it’s also important to ensure that it is installed properly onto the cartridge on the tonearm. A poorly aligned or damaged stylus can significantly impact sound quality and even damage your records over time.
Regularly cleaning it after every use is also necessary by gently brushing off any dust or debris with an antistatic brush.
Preamp
One important component of a record player setup is the preamp, which boosts the signal from your turntable to a level that can be properly amplified and heard through your speakers.
Some turntables include built-in preamps, but others require an external preamp to be connected between the turntable and amplifier or powered speakers. I recommend using an external preamp if you have a high-end audio system in order to get the best sound quality possible from your vinyl records.
Speakers
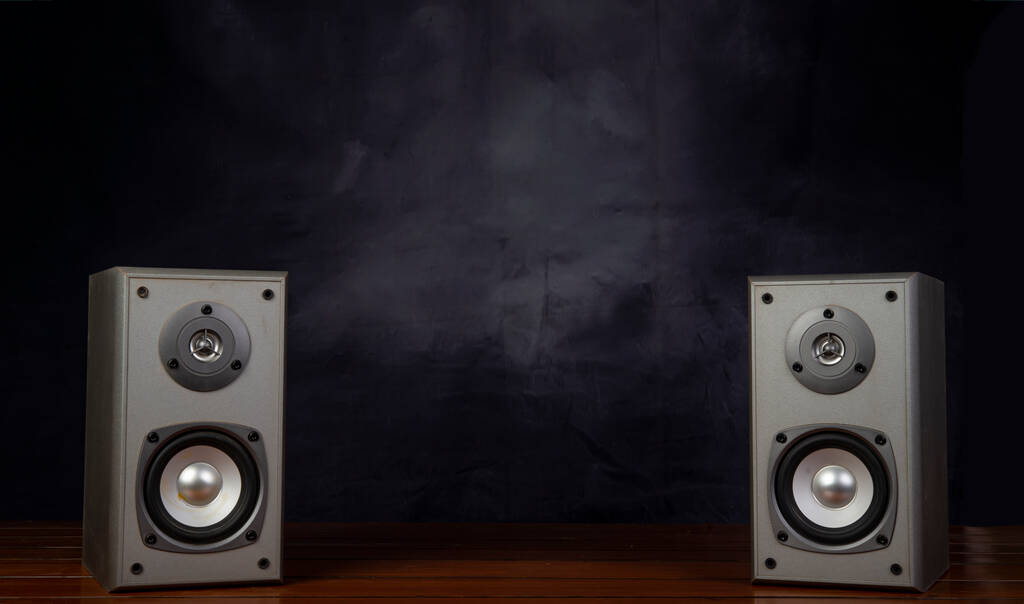
As a music lover, you’ll want to make sure that your record player has the right speakers to bring out the best in your vinyl collection. Speakers are an essential component of any audio setup, and they come in different shapes, sizes, and power ratings.
When choosing external speakers for your record player, consider factors such as driver size and material, frequency response range, impedance compatibility with your amplifier or receiver’s output power rating.
It’s also important to keep in mind proper speaker placement or positioning for optimal listening experience. Ideally, place them at ear level about 6-8 feet apart facing directly towards you if you’re sitting down.
Setting Up Your Record Player
Choose a suitable location for your record player, ensuring it’s on a stable surface away from sources of vibration that could affect the sound quality.
Choosing The Right Location
When it comes to setting up your record player, choosing the right location is key. Here are some tips to help you make the right decision:
1. Find a flat and stable surface: Your turntable needs to sit on a level surface that won’t wobble or vibrate during use. Consider using a dedicated stand, shelf or table designed for turntables or audio equipment.
2. Keep away from heat sources: Avoid placing your record player near radiators, heaters, sunny windowsills or any other source of heat that could damage the vinyl records or components.
3. Avoid direct sunlight: Sunlight can damage vinyl records over time and also cause warping or fading of the turntable’s components. Keep your setup in a shaded area if possible.
4. Minimize vibration: Vibrations can negatively affect sound quality and accuracy, so avoid placing your turntable near speakers, subwoofers, or heavy foot traffic areas.
5. Keep away from moisture: Moisture can cause electrical shorts and rust on metal parts, so avoid setting up in damp areas like basements or bathrooms.
By taking these factors into account when choosing where to set up your record player, you’ll be well on your way to achieving optimal sound quality and prolonging the life of your equipment and vinyl records.
Placing The Turntable
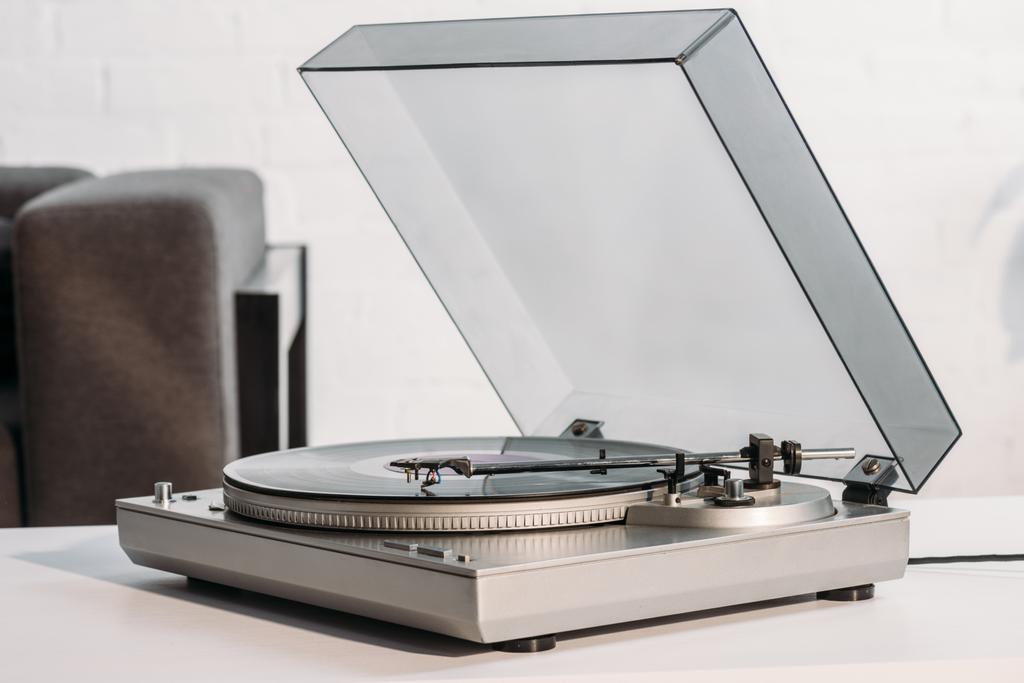
Placing your turntable in the right location is crucial for a great listening experience. You’ll want to choose an area that is free from vibrations, away from direct sunlight and heat sources, and where there’s no chance of it being knocked or bumped.
Once you’ve chosen your spot, place the turntable on a level surface, making sure it’s not wobbling or rocking back and forth.
If you’re setting up your record player near speakers, keep them at least 2 feet away from each other to avoid any interference or feedback. It’s also important to make sure that the surface under the turntable is sturdy enough to support its weight without bending or sagging over time.
Connecting The Preamp And Speakers
To enjoy your vinyl record player properly, it’s essential to connect the preamp and speakers correctly. Here’s how:
1. Connect the turntable to the phono preamp using RCA cables.
2. Plug in the power supply for the phono preamp.
3. Connect the output of the phono preamp to the input of your powered speakers or amplifier using an RCA cable.
4. Turn on your record player and set it to the correct speed according to your vinyl record’s specifications.
5. Turn on your amplifier or powered speakers and adjust their volume accordingly.
6. Sit back, relax, and listen to your favorite vinyl records with high-quality sound.
Pro Tip: To achieve optimal sound quality, it’s important to use high-quality cables when connecting your equipment together.
Remember, improper connections can lead to a less-than-optimal listening experience. By following these simple steps, you’ll be able to enjoy the full experience of playing vinyl records on your record player like a pro!
Checking The Turntable’s Speed And Adjusting The Tonearm
Before playing your vinyl record, it is important to ensure that the turntable’s speed is accurate and adjusted appropriately. Most records play at 33 or 45 RPM, which are standard speeds for LPs and singles respectively.
Once you’ve confirmed that your turntable is spinning at an accurate speed, it’s time to adjust the tonearm so that it tracks properly across your record. Depending on your turntable model, this may involve setting counterbalance and anti-skate adjustments before lowering the stylus onto your record’s lead-in groove carefully.
Installing The Stylus
Installing the stylus is an important part of setting up your record player. Here are the steps to follow:
1. Choose the right stylus for your cartridge: There are various types of cartridges available, each with a specific type of stylus. Make sure to choose the right one for your cartridge.
2. Unscrew the old stylus: If you’re replacing an old stylus, use a screwdriver to unscrew it from the cartridge.
3. Insert the new stylus: Align the new stylus with the cartridge and gently push it in until you hear a click or feel resistance.
4. Check alignment: Ensure that the new stylus is correctly aligned with the tonearm and parallel to the record’s grooves.
5. Adjust tracking force: Use a scale to adjust tracking force according to manufacturer specifications (usually between 1-3 grams).
6. Test playability: Test playability by playing a record and checking for skipping or distortion.
Remember that installing the stylus properly will ensure optimal sound quality and extend the lifespan of your records and equipment!
Playing Vinyl Records
Once the turntable is set up and calibrated, it’s time to play your vinyl record: carefully place the record on the platter, lower the tonearm onto the grooves of the record, and sit back to enjoy that warm analog sound.
Preparing Your Vinyl Record
Preparing your vinyl record is an important step before playing it on your record player. Here are the steps you can take to ensure your record is ready to play:
1. Remove the record from its sleeve: Hold the record by the edges and remove it from its sleeve. Avoid touching the grooves of the record with your fingers.
2. Clean the surface of the record: Before placing the record on the turntable, make sure that it’s free from dust, dirt, and fingerprints. Use a carbon fiber brush or anti-static cloth to clean both sides of the vinyl.
3. Check for any visible scratches: Inspect both sides of the vinyl for any visible scratches or deep marks that may cause skipping or distortion when playing.
4. Place the record on the platter: Center the record on top of the turntable platter, making sure that it’s aligned with the spindle in the middle.
5. Adjust for correct speed: If you’re using a manual turntable, adjust for 33 1/3 RPM or 45 RPM depending on what type of vinyl you’re playing. If you’re using an automatic turntable, it should adjust automatically based on size.
6. Lift up and lower tonearm onto record: With one hand holding onto the tonearm lever, carefully lower and guide down towards where you want to start playing before releasing hold letting down gently until stylus touches down softly.
7. Enjoy listening to your vinyl record: Sit back and enjoy listening to your favorite music as it comes alive through your speakers!
By taking these steps to prepare your vinyl records properly before use, you can help ensure that they sound great and will be enjoyed for years to come!
Placing The Record On The Platter
Before you start playing your vinyl record, it’s important to know how to properly place it on the platter. First, make sure that the turntable is switched off and that the tonearm is lifted.
Then, hold the record gently by its edges and position it over the center of the platter with the label facing up.
It’s essential to handle your records carefully when placing them on a turntable to avoid scratches or damage which can affect their sound quality. Remember also not to touch any part of the grooves as this will cause distortion in playback.
Lowering The Tonearm
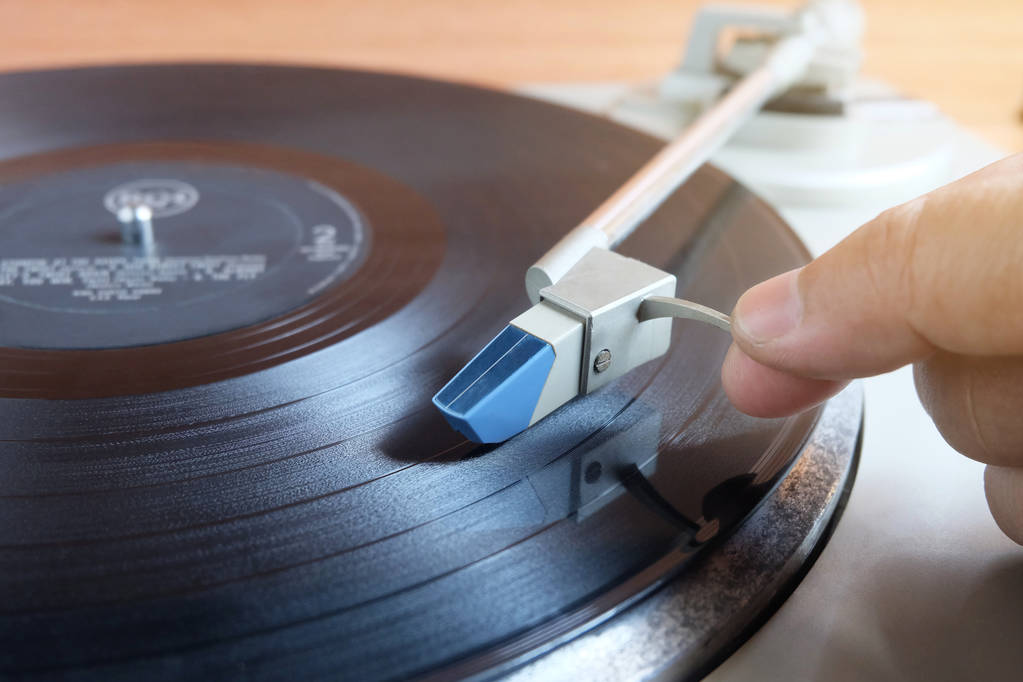
Lowering the tonearm is a critical step in playing your vinyl record correctly, and it takes some practice to get right. Here are the steps to follow:
1. Start by gently moving the cue lever towards the platter until it drops, holding the tonearm over the record.
2. Slowly lower the tonearm onto the record, using the cue lever to guide it down gently.
3. Once you have set the needle on the outer edge of your vinyl, carefully adjust its position with small movements until you find a groove.
4. Steadily release the cueing lever as soon as you’re confident that your turntable is level and your stylus is tracking well.
5. Once you hear audio from your speakers, start enjoying your vinyl.
Remember that lowering the tonearm incorrectly can scratch or damage your vinyl record, so take care to do it slowly and gently in order not to put undue pressure on either part of your equipment.
Listening To Your Record
To start listening to your vinyl record, you need to lower the tonearm onto the platter of the turntable. The stylus should then gently touch the edge of the record and start playing music.
Once your record is playing, sit back and enjoy it! Take in all those warm analog sounds that make vinyl so special. You may notice some pops or crackles due to imperfections on the surface of the record, but this is a hallmark of vinyl and adds character to each play.
Caring For Your Record Player
Proper care is essential to ensure your record player lasts a long time and continues providing quality sound. Discover tips for cleaning your equipment, storing it safely, and handling records with care in this section.
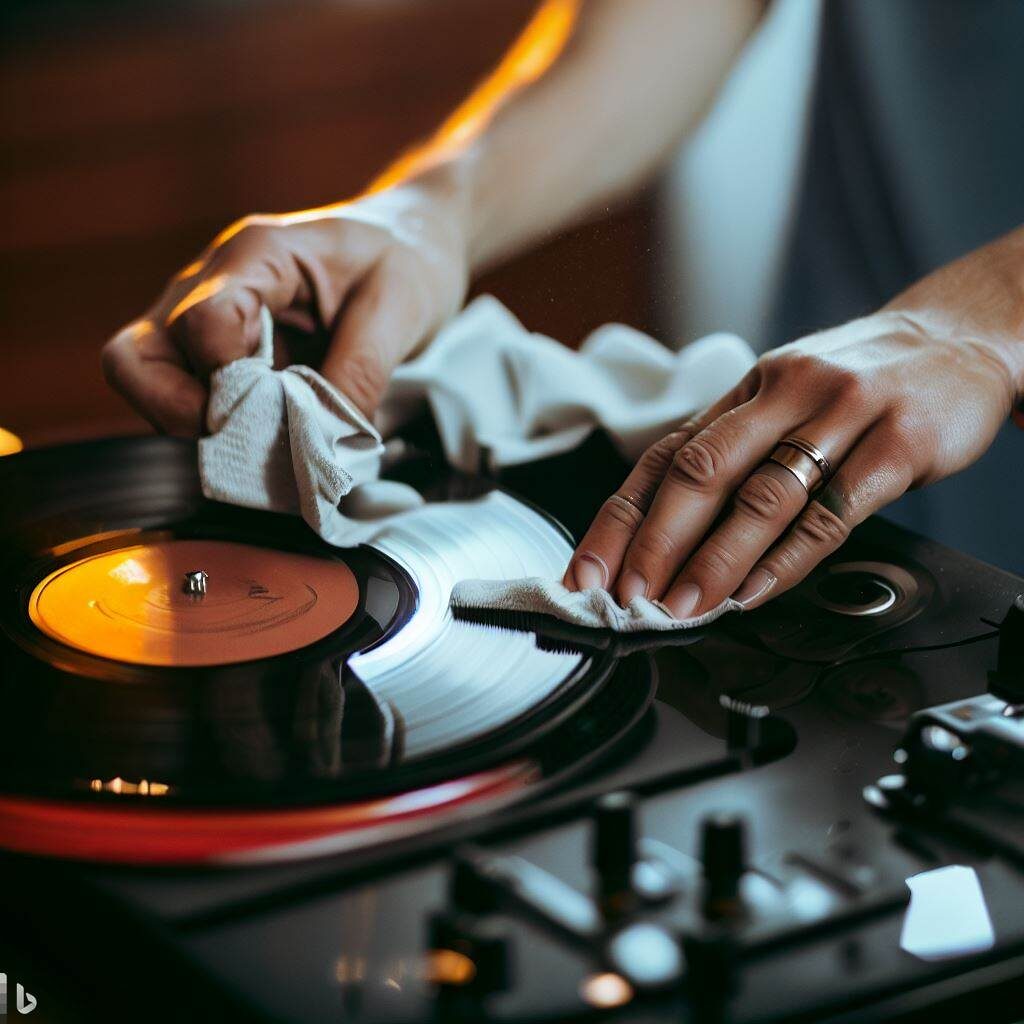
Cleaning The Equipment Properly
One of the most important things you can do to maintain your record player is to clean it properly. You should regularly dust off any debris or dirt that accumulates on the turntable and stylus using a soft-bristled brush.
In addition, you’ll want to invest in a good quality cleaning solution for both your records and equipment. There are many different brands and types available, so do some research before selecting one that suits your needs.
It’s also important to keep your equipment stored safely when not in use, away from high heat or humidity which can damage both records and components like cartridges and styluses.
Storing The Equipment Safely
When it comes to storing your record player, it’s important to take some precautions to ensure it stays in good condition. Here are some tips:
1. Keep the dust cover on when the record player is not in use to prevent dust and debris from settling on the equipment.
2. Store the record player on a level surface to prevent any damage or warping of the turntable or other components.
3. Avoid placing anything heavy on top of or near the record player that could cause damage or scratches.
4. If you need to move your record player, make sure you do so carefully and use both hands to avoid dropping or damaging it.
5. When storing your vinyl records, keep them in a cool and dry place away from sunlight and humidity. This will help prevent warping and damage to the records themselves.
6. Consider investing in a storage case specifically designed for vinyl records to help keep them organized and protected.
By following these simple steps, you can help ensure that your record player stays in great condition for years to come, allowing you to enjoy your vinyl collection with stunning sound quality every time.
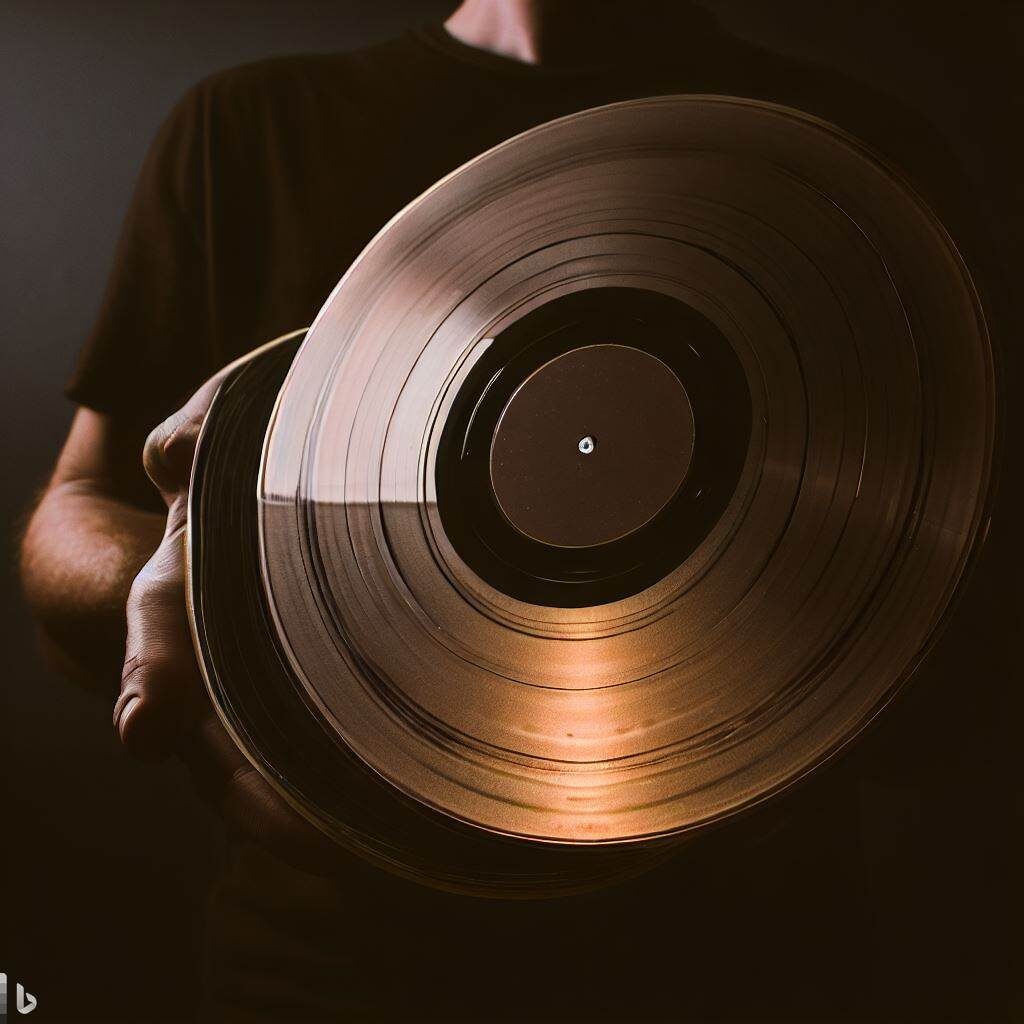
Handling Records With Care
As vinyl lovers, we understand the importance of taking care of our precious records. One way to ensure their longevity is by handling them with care during use and storage.
Always hold your record by the edges or label to avoid touching the grooves which can leave fingerprints or scratches resulting in poor sound quality.
It’s also important to keep your records clean by using an anti-static brush before playing them and wiping them down regularly with a microfiber cloth. Storing your records vertically will help prevent warping while keeping them in a cool, dry place away from direct sunlight and heat sources will protect them from damage caused by environmental factors such as humidity.
Common Mistakes To Avoid
Avoid touching the record grooves, moving the turntable while playing, and skipping tracks. These are common mistakes that can damage your vinyl and affect your listening experience.
Touching The Record Grooves
As a vinyl lover, you know that touching the grooves of a record is a big no-no. The oils and dirt on your fingers can damage the delicate grooves, causing scratches and affecting the quality of sound.
To avoid touching the grooves completely, try using cotton gloves when handling your records. These can prevent any oil transfer from your skin onto the surface of the disc.
Remember that carefully maintaining and caring for your record player and collection will help preserve its longevity and ensure that you can continue enjoying high-quality sound for years to come.
Moving The Turntable While Playing
Moving the turntable while playing can cause issues with playback and damage your vinyl records. Here’s what you need to know:
1. Moving the turntable can cause the needle to skip across the record, causing distortion or even scratches.
2. Scratches on your vinyl records can permanently damage them, affecting sound quality and decreasing their value.
3. The vibrations from movement while playing can also affect the performance of other components like the tonearm, platter, or motor.
4. If you need to move your turntable while playing or listening to a record, try using a record mat or coaster to help stabilize it.
5. Alternatively, consider investing in a portable turntable that is designed for easy transportation and stability.
6. Remember to always handle your records carefully and avoid touching the grooves with your fingers as this can leave oils that attract dust and debris.
7. When not using your turntable, it’s important to cover it with a dust cover or keep it stored in a safe place away from potential hazards like moisture or direct sunlight.
By avoiding moving the turntable while playing and taking proper care of your vinyl records and equipment, you can enjoy high-quality playback and protect your music collection for years to come.
Skipping Tracks
One of the most common issues that music lovers face when playing vinyl records is skipping tracks. This can happen if the turntable is not level or if there are vibrations in the room.
To prevent this from happening, make sure your turntable is on a stable surface and adjust its feet to ensure it’s level.
Another cause of skipped tracks may be an issue with your stylus or cartridge. Over time, these components can wear out and affect the sound quality of your record player.
Troubleshooting
If you encounter any issues with your record player, such as speed or skipping problems, don’t worry – our troubleshooting tips will help you get back to enjoying your vinyl in no time.
Common Issues And Possible Solutions
In this section, we are going to address several common issues that you might encounter with your record player and provide possible solutions to guide you in resolving these problems.
| Common Issues | Possible Solutions |
|---|---|
| Speed of the record is too fast or too slow | Check the speed switch on the plinth and ensure it’s set to the correct speed (most 12-inch LPs are 33 1/3 RPM while 7-inch singles are usually 45 RPM). |
| Distorted or low-quality audio | Clean your vinyl records properly to remove dust and grime, and ensure the stylus is clean and functioning correctly. Check the cartridge alignment and adjust if needed. |
| Skipping or repeating tracks | Inspect the stylus for any signs of wear and replace it if necessary. Ensure your turntable is on a stable and level surface, and adjust the tonearm’s counterweight, if applicable. |
| Hum or buzzing noise | Ensure all connections are secure, and check for any damaged cables. Also, make sure your turntable is properly grounded, as this can cause interference and unwanted noise. |
| Volume is too low | Check the connections between your turntable, preamp, and speakers. If using a preamp, ensure it’s properly adjusted. Adjust volume settings on your audio system accordingly. |
| Motor not functioning or spinning inconsistently | Inspect the belt for wear and tear, and replace it if necessary. Ensure the motor is clean and functioning properly, and if not, consult a professional or the manufacturer for assistance. |
Remember, taking care of your record player and addressing any issues as they arise will ensure a long-lasting and enjoyable listening experience with your vinyl collection.
Speed, Volume And Audio Problems
If you’re experiencing speed, volume, or audio problems with your record player, don’t worry – there are simple solutions to these issues. Firstly, if the record is playing too fast or slow, check that the turntable’s speed settings correspond to the type of vinyl being played (33 1/3 RPM for most LPs and 45 RPM for singles).
Adjusting the switch on the plinth should fix this issue. Additionally, low volume can often be attributed to a lack of adequate amplification from your speakers or preamp.
Check that all connections are secure and try adjusting both gain controls as needed. If there is an issue with sound quality or distortion during playback, it may be worth inspecting and potentially replacing components such as the cartridge or stylus in order to get the best listening experience possible.
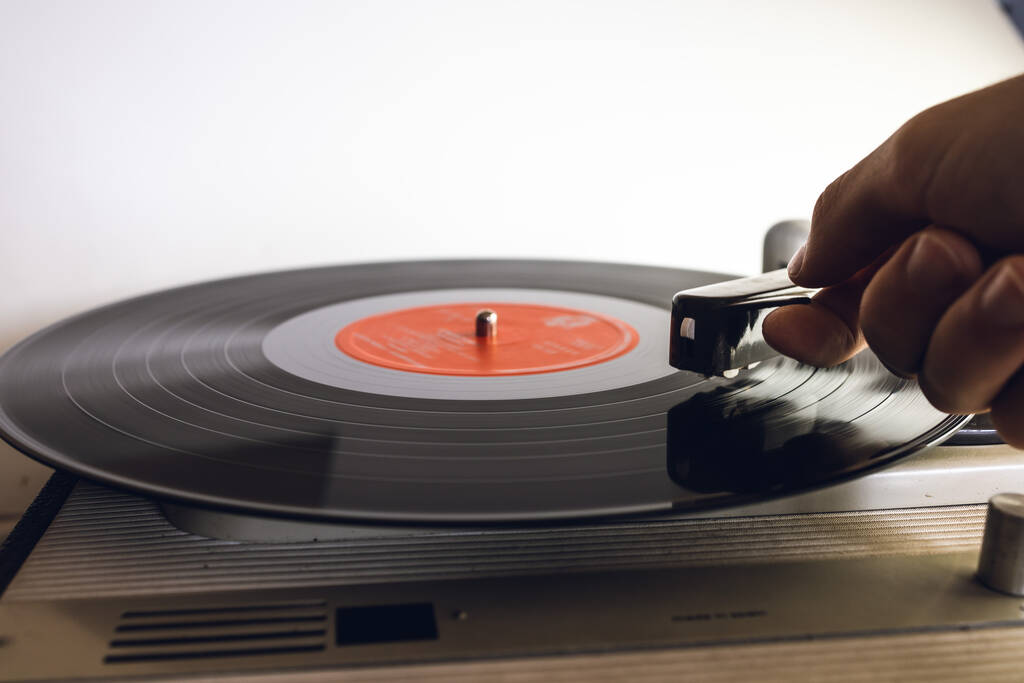
Skipping And Repeating Tracks
I’m sure you’ve experienced the frustration of a record skipping or a track repeating endlessly when playing your vinyl.
One common cause of skipping and repeating tracks is dust or debris on the stylus or in the grooves of the record. To prevent this, make sure to clean both regularly with a soft brush or cloth.
Another cause could be an issue with the tonearm being improperly balanced, so it’s important to check and adjust as needed. And if you’re still having trouble, try adjusting the anti-skating and tracking force settings on your turntable.
Enhancing Your Record Playing Experience
You can take your vinyl experience to the next level by adding accessories such as a record cleaning kit or upgrading to high-end equipment.
Adding Accessories To Your Setup
If you’re looking to take your record playing experience to the next level, there are several accessories that can enhance your setup. Here are some accessories worth considering:
1. Record Cleaning Kit: Regularly cleaning your records can improve their sound quality and extend their lifespan. A record cleaning kit typically includes a cleaning solution, microfiber cloth, and brush.
2. Slipmats: These thin mats sit on top of the platter and help protect your vinyl from scratches and static electricity.
3. Amplifier: An amplifier boosts the audio output of your record player, allowing you to connect it to a set of high-quality speakers for an immersive listening experience.
4. Headphones: If you want to enjoy your vinyl collection without disturbing others, a pair of headphones is an excellent option. Look for headphones with a wide frequency response range for accurate sound reproduction.
5. Record Storage Solutions: Storing your vinyl records properly is crucial to prevent damage or warping. There are various storage options available such as crates, shelves, and boxes designed specifically for LPs.
6. Upgraded Cartridge/Stylus: Swapping out the cartridge or stylus that came with your turntable can significantly improve its sound quality by reducing distortion and noise.
7. Preamp Upgrade: If you’re using a phono preamp, upgrading it can enhance the overall sound quality of your system.
By adding these accessories to your setup, you can take full advantage of the potential that vinyl has to offer, both in terms of audio quality and care for your collection.
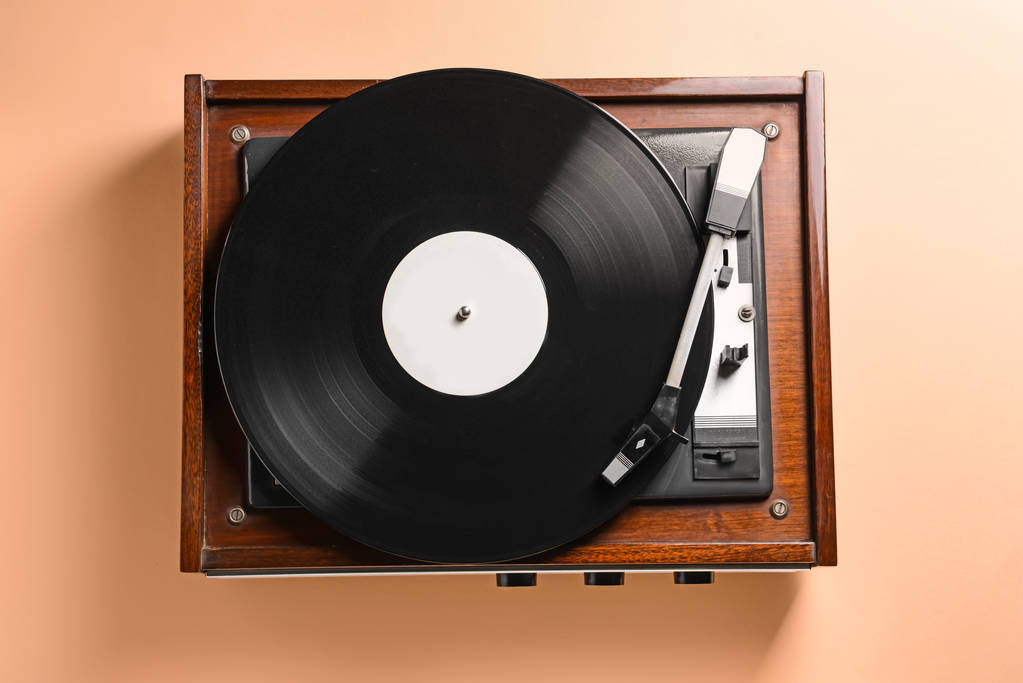
Upgrading Your Equipment
I’ve found that one of the most important aspects of using a record player is having high-quality equipment. If you’re serious about vinyl and want to take your listening experience to the next level, upgrading your turntable, cartridge or speakers could be worth considering.
For example, investing in a higher-end model with better motors will ensure more accurate rotation speed and less distortion in sound quality.
When I upgraded my speakers from basic models to powered options designed specifically for use with vinyl records, I noticed an immediate improvement in audio clarity and warmth.
Ultimately though, what works best for you depends on personal preference as well as factors like budget and space constraints.
Personalising Your Listening Space
As a music lover, you’ll want to create the perfect listening space for your vinyl records. To personalize your setup, consider adding decorative elements such as framed album covers or vintage posters.
You could also invest in some mood lighting with a dimmer switch or coloured bulbs.
Alternatively, if you have the budget and room to spare, why not turn an entire room into a dedicated listening space? Consider acoustic treatments like specialised flooring and insulated walls to improve sound quality.
All in All
So, there you have it – your step-by-step guide on how to use a record player. Whether you’re new to the world of vinyl or an experienced collector, with this knowledge under your belt, nothing can stop you from enjoying the rich and warm sound of analog music.
Remember to take care of your equipment and vinyl records, avoid common mistakes and upgrade your setup as desired. With patience and practice, anyone can become adept at operating a turntable and bask in the timeless charm that only vinyl can offer.
Thanks for reading.
Tom
How do I get started with using a turntable to play my vinyl records?
First, make sure your turntable is set up properly and plugged in. Place the record on the platter with the hole in the center lined up with the spindle. Choose the speed setting according to the type of record you’re playing, and hit the “start” button to begin spinning the platter. Raise and lower the tonearm gently onto the record, and enjoy the music!
What is the step-by-step guide to properly place a record on the turntable?
1. Make sure your turntable is turned off or in stand-by mode. 2. Hold the vinyl record gently by the edges or with fingers on the center label, avoiding touching the grooves. 3. Locate the hole in the record’s center and align it with the spindle on the turntable platter. 4. Gently place the record onto the platter, ensuring it lays flat and in the correct position.
Can I play any type of vinyl record on my turntable, or are there specific ones to use?
Most turntables can play both 33 1/3 RPM (standard LPs) and 45 RPM (singles) records. However, you’ll need to adjust the speed selector switch according to the type of record you’re playing. Some turntables can also play 78 RPM records, but you’ll need to check your specific model for compatibility.
How do I know when to raise and lower the needle onto the record?
Always ensure the platter has started spinning before lowering the needle onto the record. When you want to begin playing, gently lower the tonearm onto the record’s outside edge, making sure it connects with the groove. To stop the recorded sound or change tracks, raise the tonearm gently, taking care not to damage the record.
How do I maintain and clean my turntable and vinyl records to ensure proper use?
Dust and debris can negatively impact your vinyl records and turntable performance. Regularly clean your records with a gentle brush or record cleaning solution. Use a stylus brush or cleaning solution to keep the needle in excellent shape. Lastly, keep the dust cover closed when not in use to protect your turntable and reduce potential damage from dust particles.
Can I remove a record while it’s still spinning on the turntable?
It is not recommended to remove a record while it’s spinning. Instead, press the “stop” button, wait for the platter to come to a complete stop, and then raise the tonearm before gently lifting the record off the platter. This prevents damage to both the turntable and the record.
Can anyone learn how to use a record player or is it limited to audio experts only?
Record players and turntables might look complicated, but they’re easy to operate once you understand the basics. Anyone can learn how to use a record player by following simple instructions and taking necessary precautions to avoid damaging the equipment or vinyl records.
Can I play a vinyl record on an mp3 or CD player? Are there compatibility options?
No, you cannot directly play a vinyl record on an mp3 or CD player, as these devices are designed for digital formats. However, some modern turntables feature USB ports, allowing you to connect them to your computer for digitally converting your vinyl records into mp3 files, which can then be played on your digital devices.
How do I operate an automatic turntable and what makes it different from manual ones?
Automatic turntables simplify the process of playing a record by automating the tonearm’s movement. To use an automatic turntable, place the record on the platter, and press the “start” button. The tonearm will move into position and lower onto the record automatically. When the record finishes, the tonearm will lift and return to its resting position. Manual turntables require manual positioning and raising/lowering of the tonearm.
Can I use a record player as a stand-alone device, or do I need additional equipment for proper use?
While some turntables feature built-in speakers, they are generally not as powerful as external speakers. To get the best sound quality from your vinyl records, it’s recommended to connect your turntable to a separate amplifier and speakers. Make sure to check whether your turntable has a built-in preamp, as this determines if you need an external preamp for your setup.


